
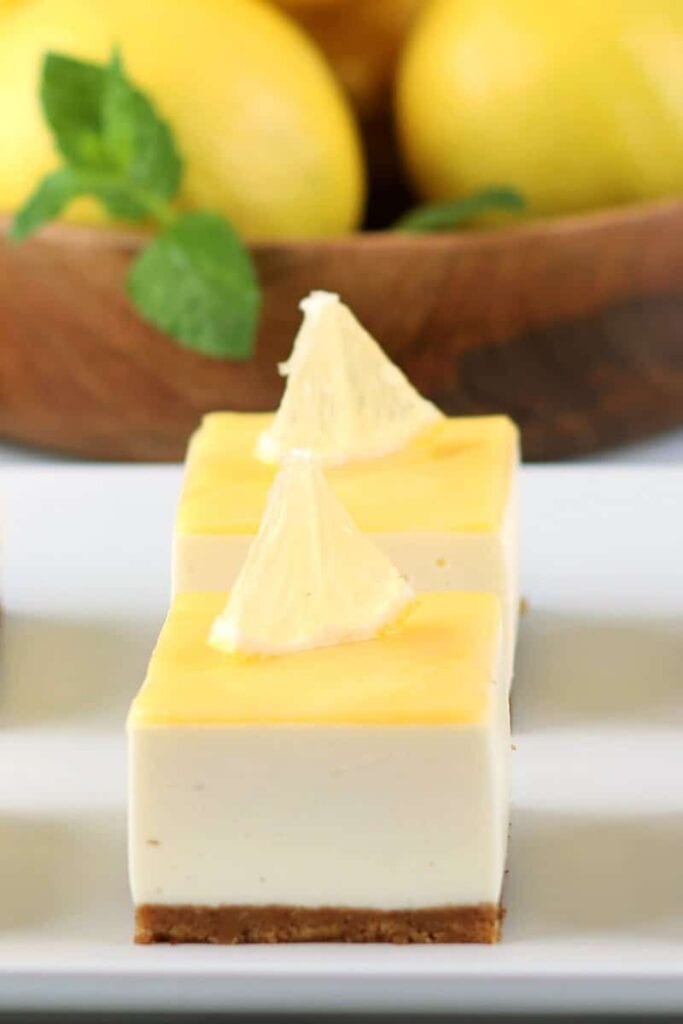
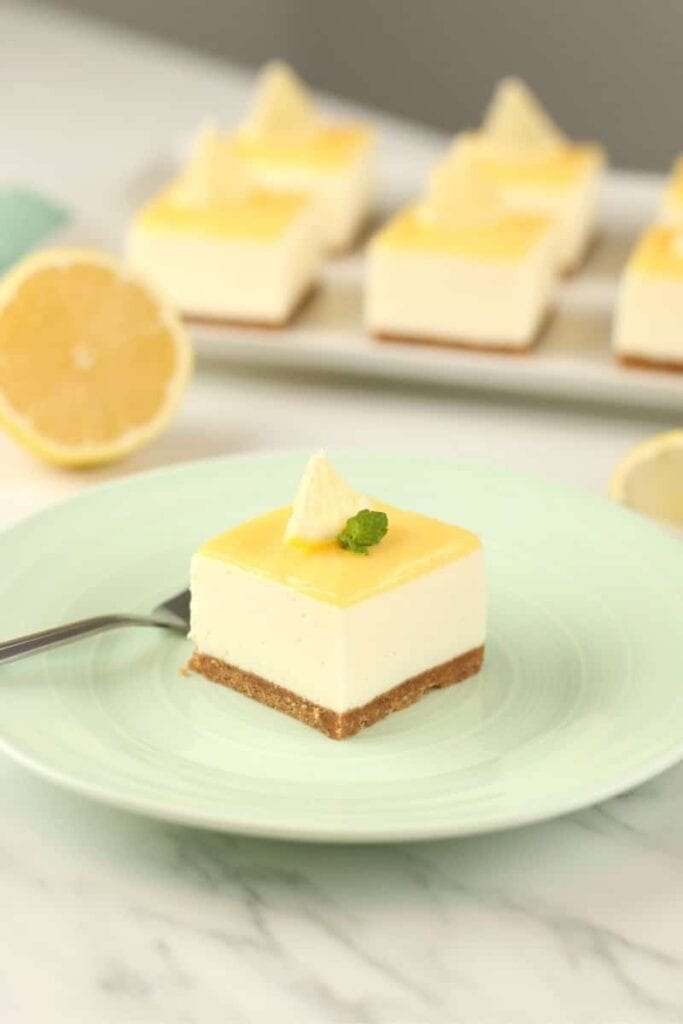
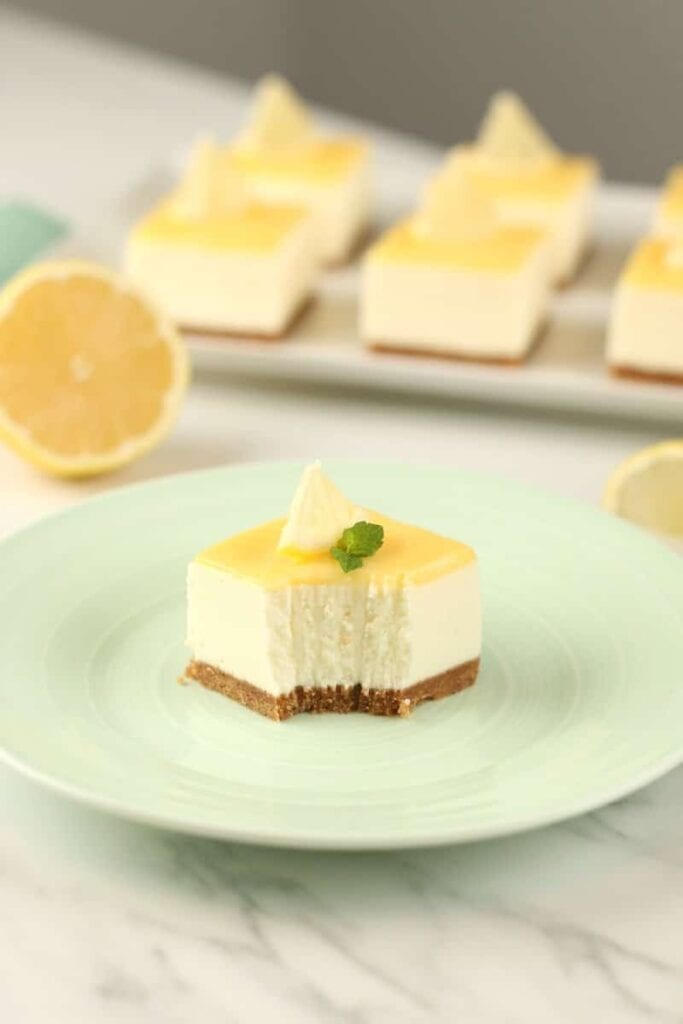
Creamy, fresh No-Bake Lemon Cheesecake Bars. An ideal size Spring/summer dessert! Sweet, buttery, and slightly salty biscuits crust with a cinnamon zing combined with sweet vanilla yogurt and tangy lemon flavor make these Lemon Bars such delish and enjoyable treats.
No-Bake Lemon Cheesecake Bars Video Tutorial
WHAT YOU’LL NEED FOR THEESE NO BAKE LEMON BARS
Using a biscuit/brownie pan 11X7X½ inches (28x18x4 cm ), measure two strips (1 for the long side and one for the short side) of parchment paper that are about 4 inches (10 cm) more of the length of the size of the pan.
Be sure that they are long enough that you can easily grab them on every side as shown in the video instructions.
Best conclusion of a hot summer meal.
Place the first strip (you don’t need to grease the pan first ) aligned in middle on the long side, then the second in the short side also aligned in the middle of the pan.
This step is essential because it will help you take the cheesecake out of the pan later.
3 Parts of this no-bake lemon squares recipe
- Sweet, buttery, and slightly salty biscuits crust with a cinnamon zing.
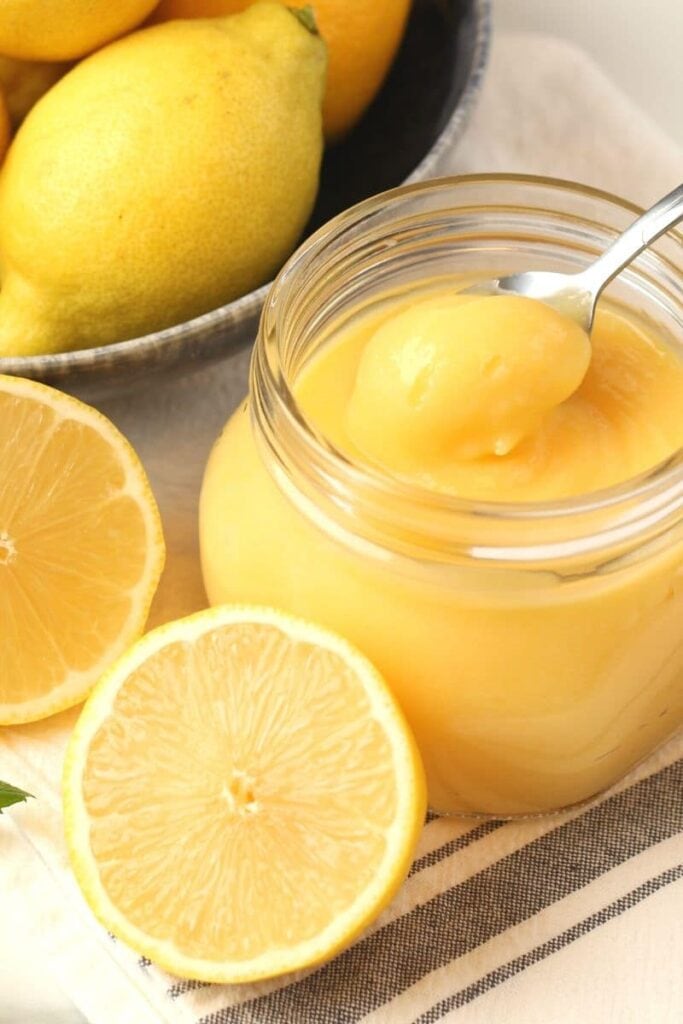
- Filling with sweet vanilla yogurt, full-fat cream cheese, sweetened heavy whipping cream, and tangy lemon juice and lemon curd for a more rich lemon flavor.
- A thin layer of creamy indulgence homemade lemon curd topping.
How to make No-Bake Lemon Cheesecake Bars
Crust base
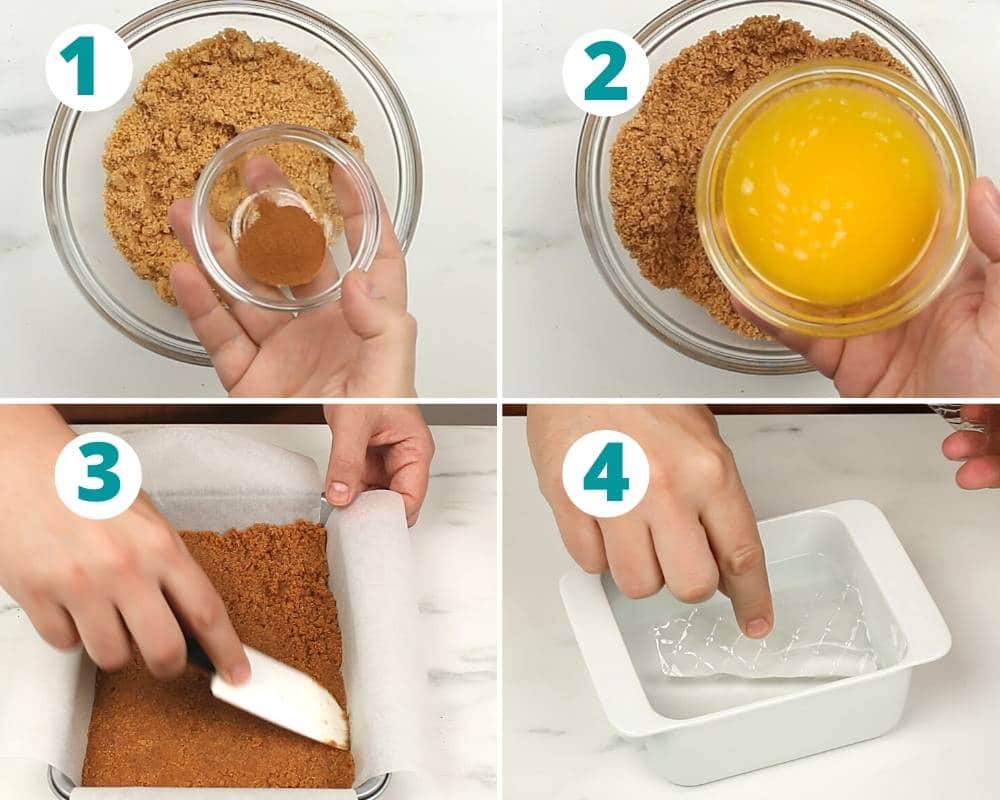
1. Melt the butter and set aside. Crush the biscuits in a zipped top bag with a rolling pin, or you can use a food processor or blender to grind them.
2. Mix the crushed biscuit ground cinnamon and melted butter.
3. Place the mixture in the prepared pan and press it into the bottom but not too firmly. If you use Graham cracker, the crust needs to be very tight and compact.
Use a Non-Stick spatula or flat cup to help pack it down and smooth out the surface.
4. Soak the gelatine sheets in a bowl of cold water for 5 to 10 minutes.
Filling of these no-bake lemon bars

5. Using an electric mixer set at medium/high speed, beat well chill heavy whipping cream in a large bowl until stiff peaks form, and move it in the fridge.
6. In another medium-large bowl, place the Vanilla yogurt, cream cheese, sugar, and beat with an electric mixer until light and smooth.
7. Add lemon curd and then fold the whipped cream into yogurt/cream cheese mixture.
8. Heat the gelatine in the microwave for 10 seconds.
Heat also the lemon juice for 10 seconds or in a small saucepan over low heat for about a minute. Add the gelatine to the lemon juice and make sure it’s completely mixed.
Let it cool off for a few minutes before you mix into the rest of the filling using an electric mixer set at medium/high speed.
Chilling, topping and cutting the Lemon cheesecake
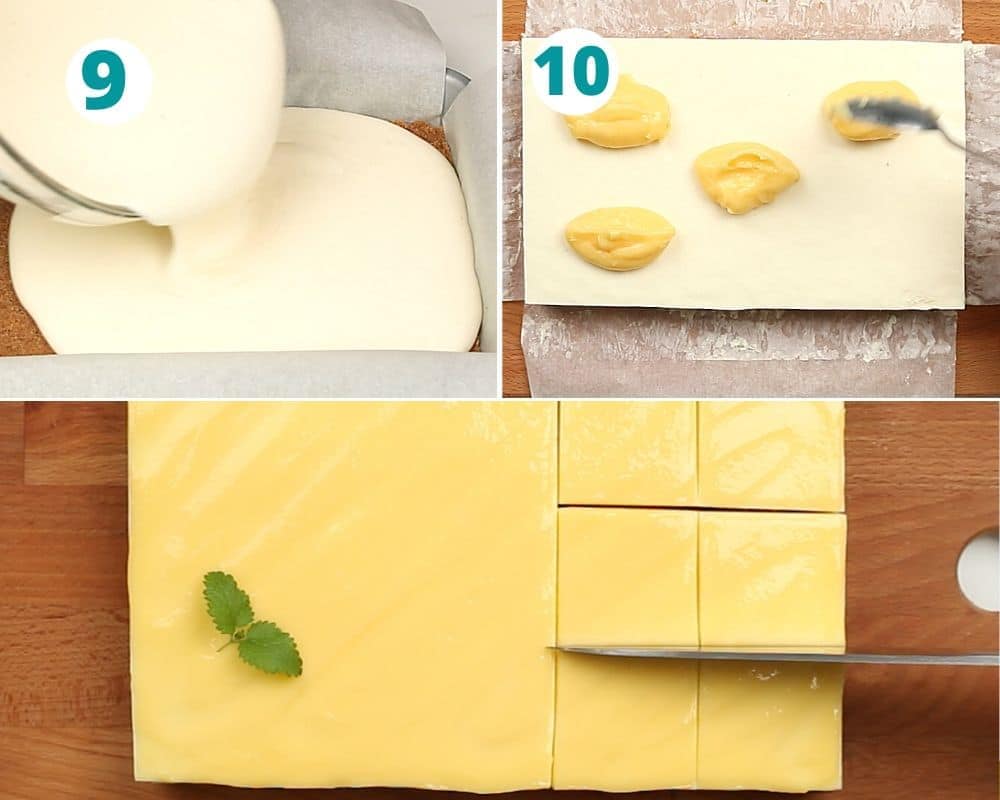
9. Pour the filling over the crust and let it set in the refrigerator for about 3 hours or in the freezer for 1 hour. Remove carefully the lemon cheesecake from the pan grabbing the parchment paper on every side.
10. Place the cheesecake onto a cutting board and add and smooth the Lemon curd on top. Chill for 15 minutes before cutting the lemon cheesecake into 15 squares (2X2 inches each- 5X5 cm) but you can slice it as big or small you like with a large knife. Clean the knife with a paper towel before cutting new squares for aesthetic purposes.
With this recipe, you will have 15 squares (2X2 inches each- 5X5 cm), but you can slice it as big or small you like.
For these Cheesecake Bars, you can use store-bought or homemade lemon curd. If you love lemons and cheesecake, you have to try this No-Bake Lemon Cheesecake Bars.
PRO TIPS
For this recipe, use a scale and follow the grams’ measurement for a better and accurate result.
For the crust, use Digestive biscuit if you find them where you live.
If you can, for this recipe, we recommend making homemade lemon curd.
Want to try another no-bake dessert?
If you Love strawberry and chocolate combination try Strawberry Chocolate mini-Cheesecake glasses or a maybe a refreshing, and pretty easy to make No-bake White Chocolate Coconut Cheesecake
Storage
The No-bake Lemon Cheesecake bars can be prepared the day before and stored in the refrigerator before cutting into squares.
Cut into bars just before serving.
Leftovers can be kept in the refrigerator for up to two days.
We don’t recommend freezing the cheesecake.
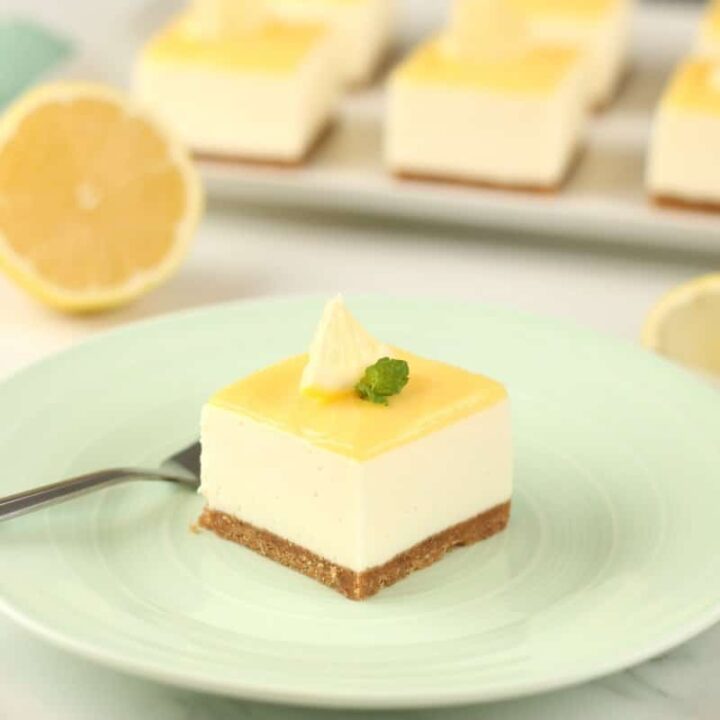
No-Bake Lemon Cheesecake Bars
Creamy, fresh No-Bake Lemon Cheesecake Bars. An ideal size summer dessert! Sweet, buttery, and slightly salty biscuits crust with a cinnamon zing combined with sweet vanilla yogurt and tangy lemon flavor make these Lemon Bars such delish and enjoyable treats.
Ingredients
- 2 cups (200g) Digestive biscuits (or Graham cracker )
- ½ cup (100g) unsalted butter
- A teaspoon of ground Cinnamon
- 1 cup and ⅜ cup (350g) of full-fat Vanilla yogurt
- 1 cup (250ml) of heavy whipping cream
- ⅞ cup (200g) of full-fat cream cheese, softened to room temperature
- ½ cup (120g) of Granulated sugar
- Fresh Lemon juice from a big Lemon or 1 and ½ if you have small lemons.
- 4 Tablespoon of Lemon curd (store-bought) or homemade)
- 10g of Gelatin sheets (about 6 sheets).
- Topping 6-7 Tablespoon of Lemon Curd (homemade or store-bought)
Instructions
- Using a biscuit/brownie pan 11X7X½ inches (about 28x18x4 cm ), measure two strips (1 for the long side and one for the short side) of parchment paper that are about 4 inches (10 cm) more of the length of the size of the pan. Be sure that they are long enough that you can easily grab them on every side, as shown in the video instructions.
- Place the first strip (you don't need to grease the pan first ) aligned in the middle on the long side, then the second on the short side also aligned in the middle of the pan. This step is essential because it will help you to take the cheesecake out of the pan later.
- Melt the butter and set it aside. Crush the biscuits in a zipped top bag with a rolling pin, or you can use a food processor or blender to grind them.
- Mix the crushed biscuit, ground cinnamon, and melted butter. Place the mixture in the prepared pan and press it into the bottom but not too firmly. If you use Graham cracker, the crust needs to be tight and compact.
Use a Non-Stick spatula or flat cup to help pack it down and smooth out the surface.
Freeze the crust for at least 10 minutes. - Soak the gelatine sheets in a bowl of cold water for 5 to 10 minutes.
- Using an electric mixer set at medium/high-speed beat well, chill heavy whipping cream in a large bowl until stiff peaks form, and move it in the fridge.
- In another medium-large bowl, place the Vanilla yogurt, cream cheese, sugar, and beat with an electric mixer until light and smooth.
- Add lemon curd, and then fold the whipped cream into the yogurt/cream cheese mixture.
- Heat the gelatine in the microwave for 10 seconds. Heat also the lemon juice for 10 seconds or in a small saucepan over low heat for about a minute. Add the gelatine to the lemon juice and make sure it's completely mixed.
- Let it cool off for a few minutes before you mix it into the rest of the filling using an electric mixer set at medium/high speed.
- Pour the filling over the crust and let it set in the refrigerator for about 3 hours or in the freezer for 1 hour. Remove the lemon cheesecake carefully from the pan, grabbing the parchment paper on every side. Place the cheesecake onto a cutting board and add and smooth the Lemon curd on top.
- Chill for 15 minutes before cutting the lemon cheesecake into 15 squares (2X2 inches each- 5X5 cm), but you can slice it as big or small you like with a large knife. Clean the knife with a paper towel before cutting new squares for aesthetic purposes.
- With this recipe, you will have 15 squares (2X2 inches each- 5X5 cm), but you can slice it as big or small you like.
Notes
Use a scale and follow the measurement in grams.
For the crust use Digestive biscuit if you find them where you live.
The No-bake Lemon Cheesecake can be prepared the day before and stored in the refrigerator before cutting into squares.
Cut into bars just before serving.
Leftovers can be kept in the refrigerator for up to two days. We don't recommend freezing the lemon cheesecake.
With this recipe, you will obtain 15 squares (2X2 inches each- 5X5 cm) but you can slice it as big or small you like.
Nutrition Information:
Yield: 15 Serving Size: 15Amount Per Serving: Calories: 91Total Fat: 5gSaturated Fat: 2gTrans Fat: 0gUnsaturated Fat: 2gCholesterol: 17mgSodium: 80mgCarbohydrates: 11gFiber: 1gSugar: 6gProtein: 2g
Nutrition information isn’t always accurate.
Leave a Reply